


Bread Proofing Basket
$ 20.00
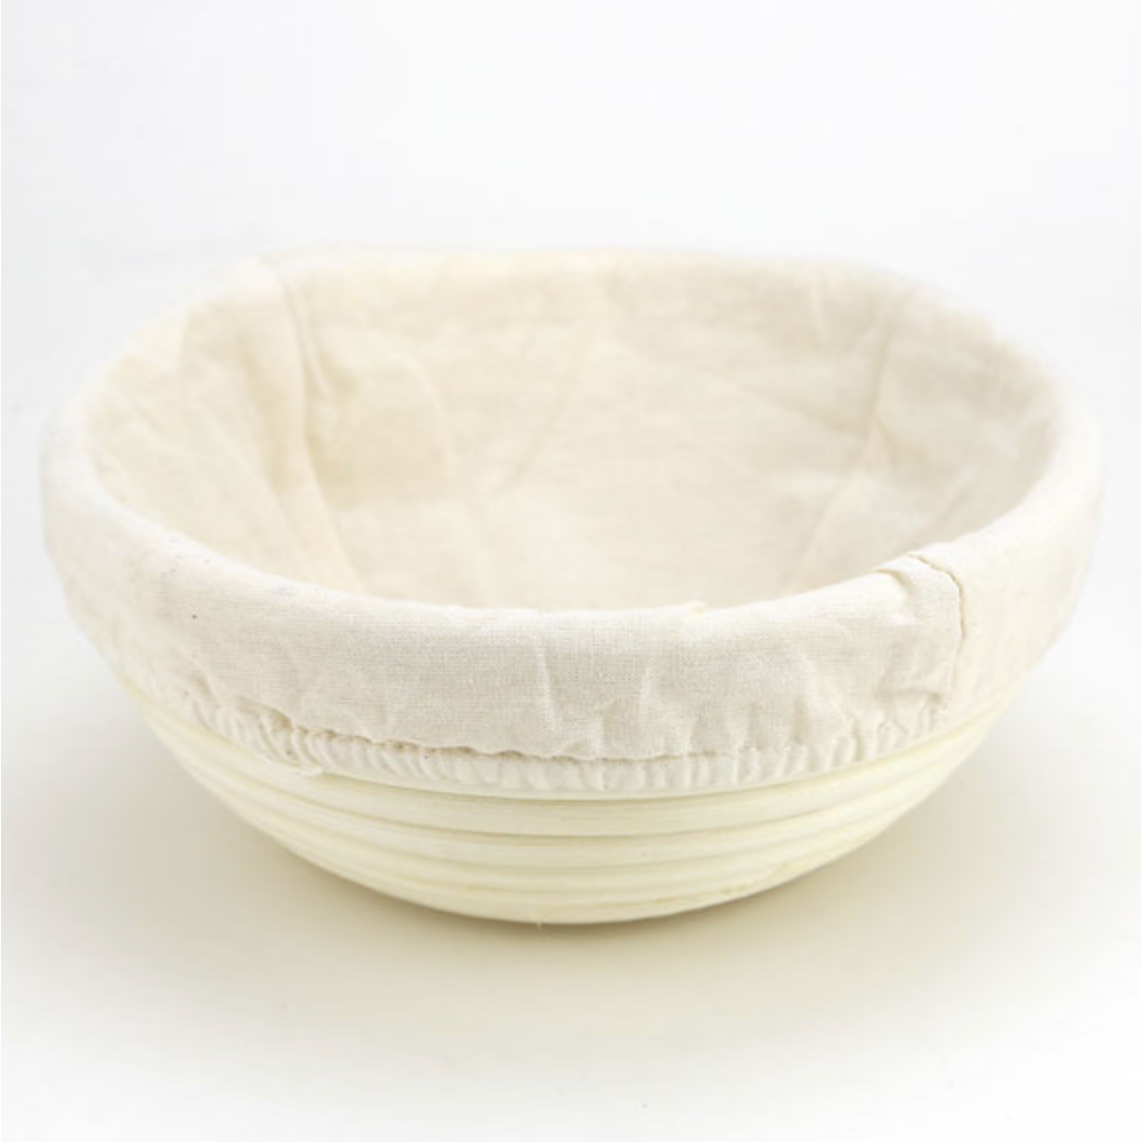
Ideal for the home baker, these rattan baskets are 8" in diameter. Liner not included.
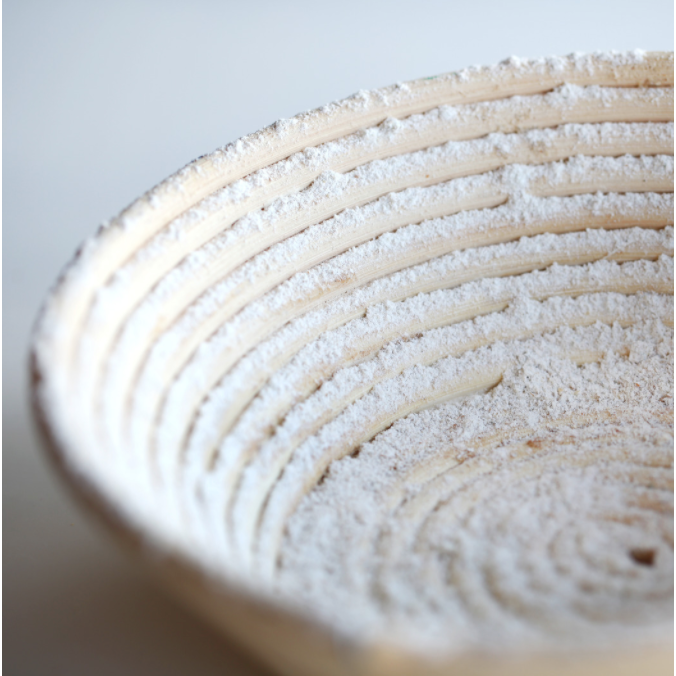
To give your homemade bread shape and structure, let the dough rise in a well-floured fermenting basket. In this way it retains its shape, is supplied with sufficient oxygen and makes your bread especially light and airy.
To use: Generously dust the proofing basket with flour, working flour into the crevices (rice flour or rye flour work best) and place dough in basket, seam up for final rise. Lining with a fitted cloth liner or a dish towel (also with flour worked in) works great for high hydration doughs.
If taking my bread baking course, our recipe will make two loaves so 2 baskets are advised!